The Alchemy of Baking: How to Bake the Perfect Cookie
By understanding the science behind cookie-making and following some key techniques, you can transform your kitchen into a haven for consistently delightful cookies.

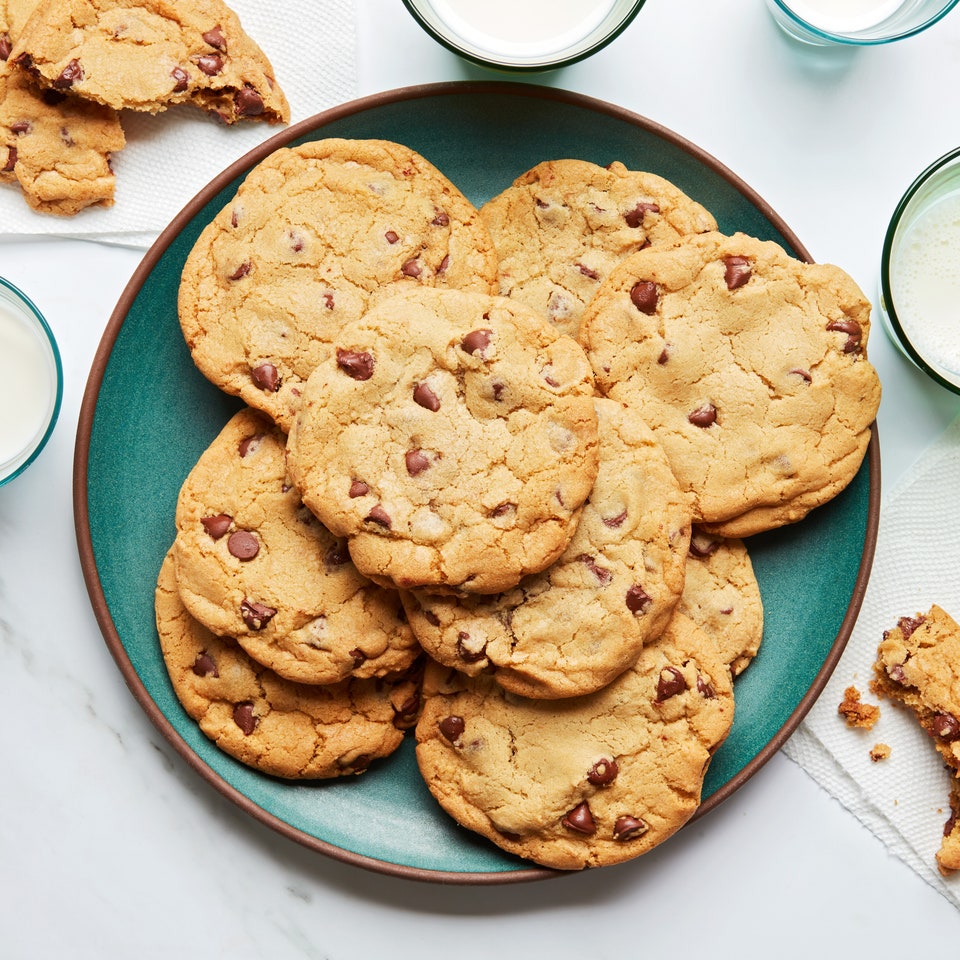
For many, the image of a perfect cookie evokes a sense of pure comfort and satisfaction. It’s a warm, golden disc with a slightly crisp exterior that gives way to a soft, chewy center, studded with melty chocolate chips or flecked with nuts and spices. Achieving this ideal, however, can sometimes feel like an elusive culinary quest. Fear not, fellow bakers. By understanding the science behind cookie-making and following some key techniques, you can transform your kitchen into a haven for consistently delightful cookies
Selecting the Right Recipe: Your Blueprint to Success
The foundation of any exceptional cookie lies in a well-constructed recipe. There’s a vast array of cookie recipes available, each boasting unique flavor profiles and textures. Whether you’re a die-hard chocolate chip devotee or a crusader for the snickerdoodle, choosing a recipe that aligns with your desired outcome is paramount.
For beginners, it’s advisable to select a recipe with clear and concise instructions. Look for recipes that detail the weight of ingredients in addition to volume measurements, as this ensures greater accuracy. Pay attention to the type of flour recommended, as different flours can significantly impact the final texture of your cookies. Bread flour, for example, will yield a chewier cookie, while cake flour will produce a more tender and crumbly one.
Once you’ve chosen your recipe, take the time to thoroughly read through the instructions. Familiarize yourself with the ingredients, their quantities, and the order in which they are incorporated. Understanding the overall process will empower you to troubleshoot any potential issues that may arise during baking.
The Essential Ingredients: A Symphony of Flavor and Texture
The core ingredients in a cookie recipe typically comprise flour, sugar, butter or fat, eggs, and leavening agents. Each component plays a crucial role in shaping the final product.
Flour: The backbone of the cookie’s structure, flour provides both form and texture. All-purpose flour is the most commonly used variety, offering a balance between chew and spread.
Sugar: Not just for sweetness, sugar contributes to the texture and browning of cookies. White sugar creates a crispier cookie, while brown sugar delivers a chewier texture and deeper caramel notes.
Fat: Butter is the quintessential fat used in cookies, adding richness, flavor, and tenderness. The creaming process, where butter and sugar are beaten together, incorporates air, which contributes to a lighter and airier cookie.
Eggs: Eggs bind the ingredients together and contribute to both structure and moisture. The type of egg used, whole versus yolk, can also affect the final texture.
Leavening Agents: Baking soda and baking powder are the leavening agents most commonly used in cookies. They react with the liquid ingredients to create carbon dioxide gas, which causes the cookies to rise during baking.
Beyond these essential elements, a world of mix-ins awaits – chocolate chips, chopped nuts, dried fruits, spices – each adding its own unique dimension of flavor and texture. Don’t be afraid to experiment and personalize your cookies to suit your taste preferences.
Mastering the Art of Technique: From Mixing to Baking
With your recipe and ingredients at hand, it’s time to delve into the practical techniques that will elevate your cookie-making game.
Mise en place: This French culinary term translates to “putting in place,” and it essentially means having all your ingredients prepped and measured before you begin mixing. This ensures a smooth and efficient baking process.
Creaming: One of the most crucial steps in cookie-making, creaming involves beating together the softened butter and sugar until light and fluffy. This process aerates the batter, leading to a lighter and airier cookie.
Mixing Dry and Wet Ingredients: Once the creaming is complete, it’s time to incorporate the dry ingredients, such as flour, baking soda, and salt. Do this gradually, mixing just until combined. Overmixing can lead to tough cookies.
Chilling the Dough: Chilling the dough allows the flavors to meld and the gluten in the flour to relax, resulting in a chewier cookie that spreads less during baking. This step is particularly important for cookies with a high butter content.
Shaping and Spacing: When shaping your cookie dough balls, aim for uniformity in size. This ensures even baking. Leave adequate space between the cookies on the baking sheet to allow for spreading.
Oven Temperature and Baking Time: Ovens can vary in temperature, so investing in an oven thermometer is highly recommended. Pay close attention to the baking time specified in your recipe, but be mindful that it can be a guideline. The best way to determine doneness is to observe the edges of the cookies. They should be golden brown, with the centers just set but not completely firm.
Cooling and Storing: Once your cookies have emerged from the oven, a bit of patience is required. Resist the urge to dig in right away! Allow the cookies to cool completely on the baking sheet before transferring them to a wire rack. This allows for even heat distribution and prevents the cookies from continuing to cook.
Once cool, cookies can be stored in an airtight container at room temperature for up to 3 days. For longer storage, they can be placed in a freezer-safe container and frozen for up to 3 months. Thaw frozen cookies at room temperature before enjoying.
Troubleshooting Common Cookie Catastrophes: From Flat to Dry
Baking, like any science, isn’t without its occasional hiccups. Here’s how to address some of the most common cookie calamities:
Flat Cookies: The culprit here is usually too much moisture or too little flour. Ensure you’re measuring flour accurately and avoid overmixing the dough. Chilling the dough can also help prevent excessive spreading.
Domed Cookies: Excess leavening agents or an oven temperature that’s too high can cause cookies to dome excessively. Double-check the measurements in your recipe and adjust the oven temperature accordingly.
Pale Cookies: Several factors can contribute to pale cookies, including an oven temperature that’s too low, using the wrong type of sugar, or not creaming the butter and sugar long enough. Ensure your oven is preheated to the correct temperature and pay attention to the creaming process.
Dry Cookies: Overbaking is the primary culprit behind dry cookies. Keep a close eye on the cookies during baking and remove them from the oven as soon as the edges are golden brown. Using brown sugar in place of some white sugar can also help add moisture.
Beyond the Basics: Embracing Creativity and Experimentation
With a solid foundation in technique and a grasp of the underlying science, you can now venture beyond the confines of a single recipe. Here are some ways to unleash your inner cookie connoisseur:
Flavor Variations: Explore different extracts like almond, mint, or rum to add depth of flavor. Spices like cinnamon, ginger, or nutmeg can also add a delightful warmth.
Mix-in Mania: Don’t be afraid to get creative with your mix-ins. Try chopped dried fruits, pretzels, candy pieces, or even a sprinkle of sea salt for a sweet and salty contrast.
Mastering Different Textures: Experiment with different flours and sugars to achieve your desired texture. Bread flour will yield a chewier cookie, while oat flour adds a delightful heartiness. Using brown sugar in place of some white sugar creates a chewier texture, while honey can add a touch of sweetness and moisture.
Remember, baking is a journey of exploration and discovery. Embrace the learning process, have fun experimenting, and most importantly, enjoy the delicious rewards of your cookie-making endeavors.

